Garlic is an essential ingredient in many of the most delicious recipes. So, the best thing you as a vegetable gardener can do? Grow garlic yourself!
Choose the right garlic variant to grow
In general, we distinguish between two types of garlic: Hardneck garlic (Allium sativum var. ophioscorodon) and softneck garlic (Allium sativum var. sativum). For us gardeners, the important difference between both: Hardneck garlic needs cold winters, while softneck garlic do better in warmer climates. The softneck type produces more cloves than its counterpart but is milder in flavor. If you want to learn more, there is a very good article by the NC State University.
When to plant garlic
The best time to plant your garlic is the fall. The plants should be able to develop their roots before the temperatures drop and the ground freezes. On the other hand, the garlic should not have enough time to from top growth. As a rule of thumb: You should start planting four to six weeks prior your first frost. If you live in a region with hard frost, you should consider six to eight weeks before your first frost. In case you worry, your winter might be to harsh for the little plants, you can apply mulch to your garlic bed. It will also help against weeds.
In the spring time your garlic plants will “wake up” and start producing their leaves and a short period later the bulbs will start to form. The heat of the summer will then stop their growth and the heads will be ready for harvest.
The best soil to grow garlic in
Your soil should be slightly acidic to neutral. To grow big heads, your ground should be rich in organic matter and drain readily. When it comes to sun light, garlic loves full exposure. So, choose a spot in your garden with as little shade as possible. Another consideration: You should not choose a bed, where you have grown onions or garlic in recent years. With crop rotation you can reduce the risk of pests and diseases.
Can I grow garlic I bought in the supermarket
The garlic heads you purchase in the supermarket are usually treated. This makes them not the best choice to plant them. On top of that: The supermarket garlic is often grown far away from your region, often in a different climate than yours. You will find the best garlic for your region at your local gardeners shop.
How to plant garlic
You should prepare your soil by mixing in some compost or aged manure before planting. It is a good idea, to do so a couple of weeks before you actually plant.
A few days before you start planting, you should choose which cloves to plant. The rule you can apply: Larger cloves means bigger bulbs. Break the chosen cloves apart from the bulb. But keep the husky, which protects the fruit. When it comes to fertilizer, there are different opinions. Some gardeners suggest to use a bit 5-10-10 fertilizer, or bonemeal, which you dig into the ground before you plant. Other gardeners warn, that you might stimulate growth to early when doing so. So, if you want to use fertilizer, use it cautiously at the beginning.
Finally, plant the cloves four to eight inches apart and around two inches deep in an upright position.
Keep care of your garlic in the growing period
Spring is here and your garlic plants are ready to explode. It is time you check on them every now and then to make sure, everything goes according to plan. You want to cut off flower shoots, so all the growth energy goes into the bulb.
When it comes to watering, as always, not too much and not too little is the right way to go. If you do not water enough your plants will get stressed and the bulbs will not form optimally. On the other hand, too much water can lead to bulb rot. If you have a bed with good drainage, garlic requires between a half-inch to one inch of water per week. Water your plants once a week if the rain hasn’t done this for you already. Garlic prefers a deep watering over regular but small daily doses. But if you live in a very dry area, you should consider to apply more water and more often.
Garlic is a heavy feeder. So make sure, your plants get enough nitrogen. In the early spring time, you can use blood meal, chicken manure or some other pelleted fertilizer.
The next time, you want to apply fertilizer is just just before the bulbs start to form. They do so in response to the sun shining more hours per day. So, this starts usually in May.
When to harvest garlic
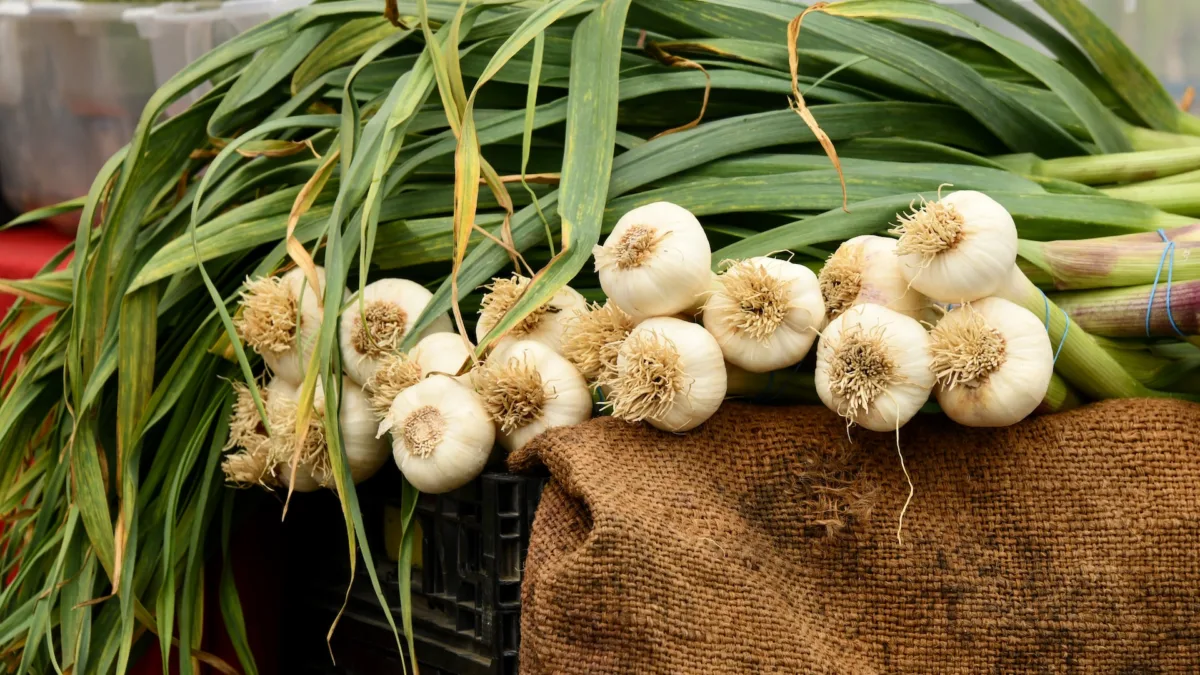
As always, it depends on where you are located. In the south, you might start already in May or June while in the North it can happen you have to wait until mid of August. Check your plants: When garlic matures, the leaves turn yellow and afterwards brown. Finally they become wilted. Once they turn brown, it is time to stop watering your plants. After a week, you should try to pull on of the garlic bulbs. Check the bulb: Has it the size you would expect from the variety? You might want to consult the instructions of the garlic’s packaging. If the bulb is way to small, give the other plants another week. Water them again and wait another week. Repeat. Keep in mind that not each plant might grow the perfect bulb. So after a while, even if you might be slightly disappointed from the bulb size, it is time to harvest because otherwise the protective skin around the bulbs start to crack.
When you have pulled all your plants, do not remove the stalk or roots. Garlic needs to be cured for storage first. Keep the plant intact and ensure it gets not wet. On a warm, dry day, leave the plants some hours outdoors to dry out. Do not expose them to too much sunlight or temperatures over 90° F.
After 10 days your plants should be cured and you can continue to remove stalk and roots. Try to protect the bulb. Once you break off a clove from the head, your garlic will deteriorate faster.
And now: Happy garlic gardening!