Aren’t we all potato lovers? You too, I assume? If so, you may be interested in learning how to grow potatoes from a potato. Yes, you heard that right! You can grow your own potatoes using just one potato. It’s simple, easy, and fun! In this post, I walk you through the eight steps of growing your potatoes from potatoes.
Step 1: Choose the Right Potato
Maybe the most important step; you need to choose the right potato. Choose a healthy potato that is free from any damage or rot. It’s best to use a seed potato that has not been treated with any chemicals or pesticides. Look for a potato that has several small indentations or “eyes” on its surface. These eyes are where new growth will emerge.
Step 2: Let the Potato Sprouts Grow
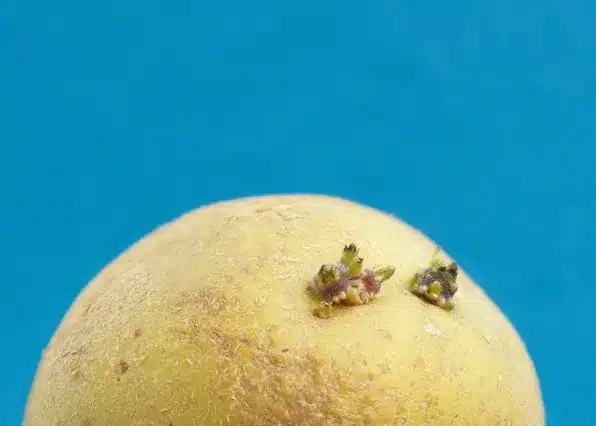
Once you’ve selected the right potato, it’s time to let the sprouts grow. Place the potato in a warm, sunny spot and let the sprouts grow for a weeks or so. You know those old potatoes you do not want to use for cooking anymore because of those green things which grew: These are the sprouts and now you want them! These sprouts are the beginning of a new potato plant!
Step 3: Cut the Potato
It’s time to cut the potato into pieces. Using a sharp knife, cut the potato into pieces, making sure that each piece has at least one or two eyes. This will ensure that each piece can grow into a new potato plant.
Step 4: Let the Potato Pieces Dry
Would you place the pieces just like this into the soil, you would risk rot. Therefore let the pieces dry out for a day or two. This will help to prevent the potato from rotting in the soil. You can place the potato pieces on a paper towel or newspaper to dry.
Step 5: Prepare the Soil
Choose a well-draining soil that receives plenty of sunlight. Dig a hole about 4-6 inches deep and place the potato pieces in the hole, with the cut side facing down. Cover the potato pieces with soil, leaving a small mound on top. This will ensure that the potato has enough room to grow.
Step 6: Water the Soil
Water the soil immediately after planting and keep it moist throughout the growing season. However, make sure the soil doesn’t get too wet or waterlogged, as this can cause the potato to rot. You can use a watering can or a hose to water the soil.
Step 7: Hill the Soil
As the potato plants grow, hill the soil up around the base of the plant to keep the tubers covered. This will help to protect the growing potatoes from light, which can turn them green and make them toxic. Add soil around the plants until you create a mound that is about 8-10 inches high.
Step 8: Harvest the Potatoes
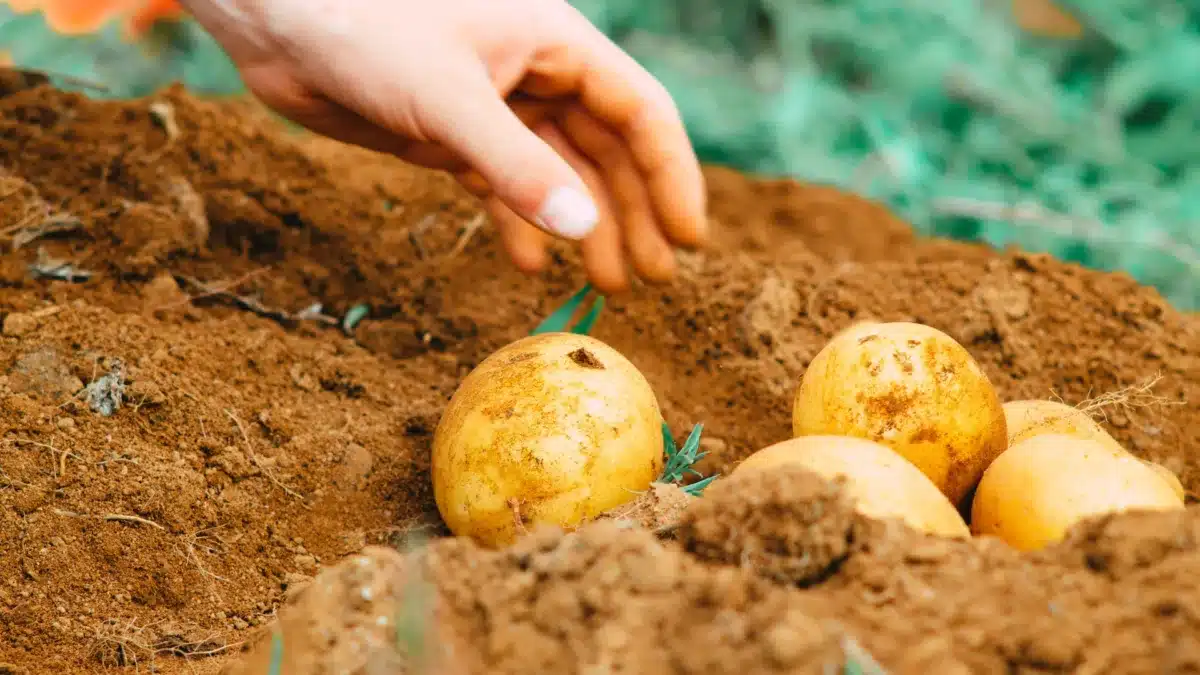
Potatoes are ready to harvest when the leaves begin to yellow and die back. This usually happens around 10-12 weeks after planting. Carefully dig around the plants to avoid damaging the potatoes. You can use your hands or a garden fork to gently lift the potatoes out of the soil.
Growing potatoes from a potato is an easy and rewarding experience. With just one potato, you can grow a whole crop of fresh, delicious potatoes. Plus, growing your own food is a great way to save money and reduce your carbon footprint. So why not give it a try? Follow these simple steps, and enjoy the taste of fresh, homegrown potatoes in no time!